
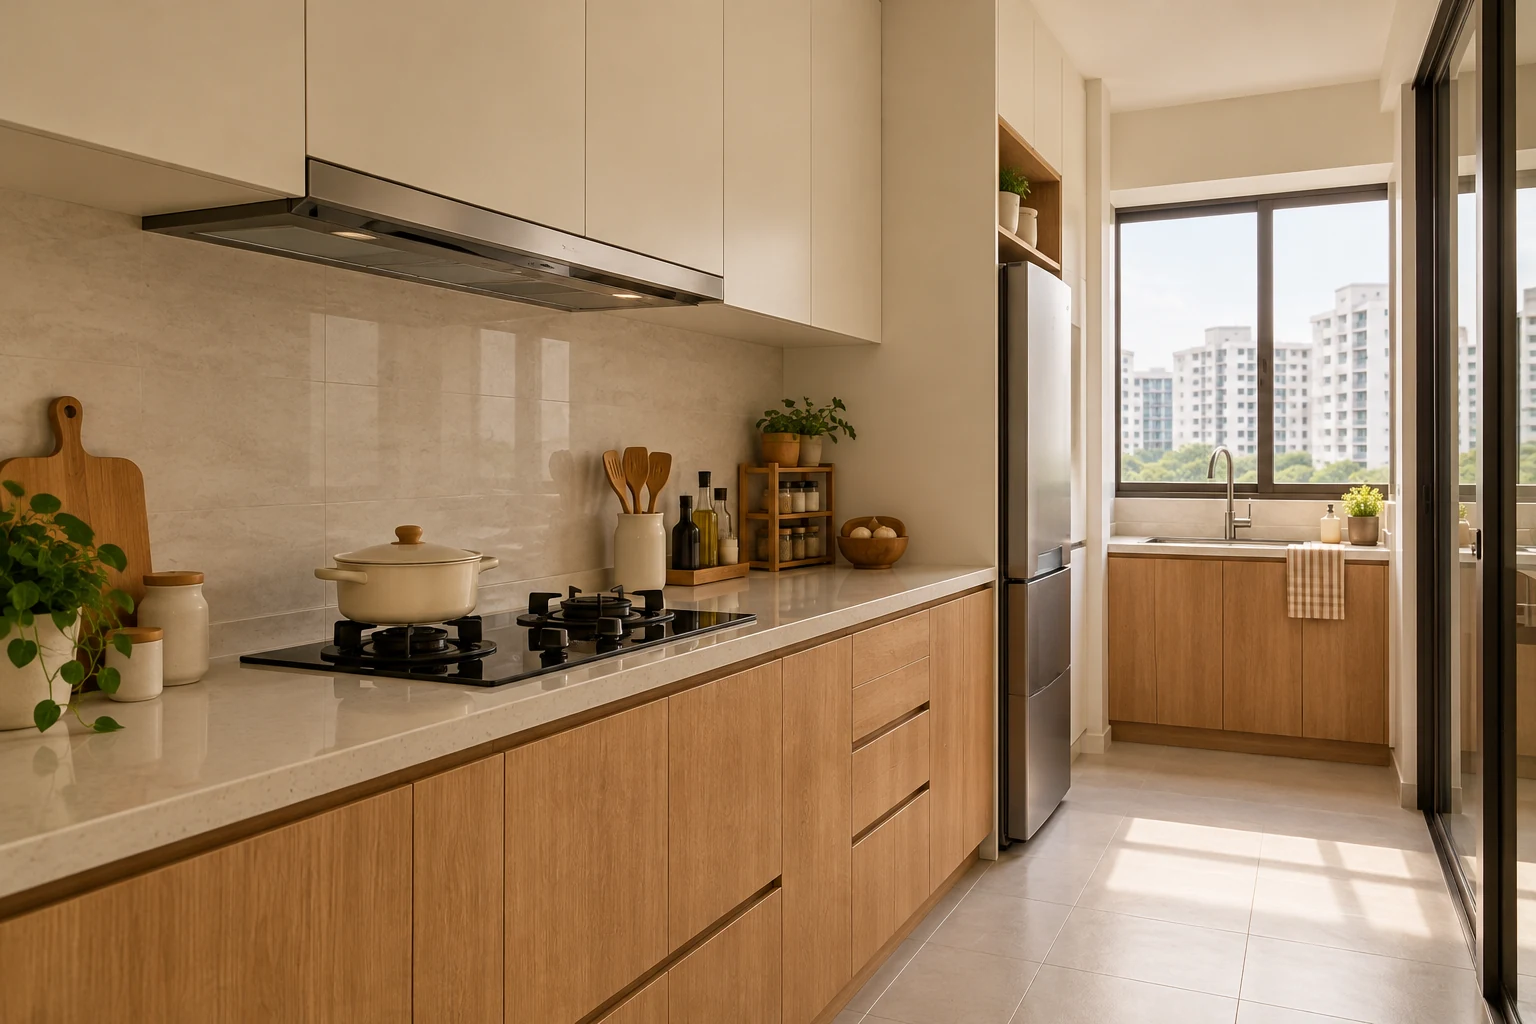
A cooker-hood cabinet should be designed around the selected equipment and its installation method. The front may look like ordinary upper storage, but the space behind it can have a different job. Resolving that difference early helps avoid unusable shelves or inaccessible parts.
This guide concerns interior coordination, not a universal hood-installation method. The appliance supplier and relevant specialists need to confirm what suits the actual Singapore premises and cooking arrangement.
1. Choose the actual hood and operating method
Provide the model, installation information and the cooking equipment it serves. Ask the supplier to explain the appropriate arrangement for the premises. Do not assume a product can use any ventilation route or operate in the same way as the previous tenant’s appliance. Keep unresolved feasibility questions separate from the decorative cabinet design.
2. Establish the route before fixing upper storage
Coordinate any required route and related building interfaces with the responsible team. Identify what space is occupied by equipment rather than available for household storage. A cabinet elevation should make those limits understandable. Do not plan shelves through a required service space or assume the route can be hidden later without affecting other work.
3. Check the manufacturer’s dimensions and clearances
Use the actual hob and hood information together. Avoid adopting a mounting dimension from a different product or an inspiration photograph. Ask who verifies the coordinated installation. The visual alignment with neighbouring cabinets should follow a suitable arrangement, not override the selected appliance’s requirements.
4. Allow ordinary cleaning and replacement
Review how filters and serviceable parts are reached and removed. Ask whether a panel must open and whether nearby joinery interferes. Equipment eventually needs attention, so a closed decorative box is not a complete solution. Follow supplier care instructions and identify the replacement route before the surrounding cabinets are fabricated.
5. Coordinate light, power and adjacent finishes
Review the hood’s own features alongside other kitchen lighting and electrical work. Use the appropriate licensed worker for relevant alterations. Check exposed edges, wall finishes and access around the appliance. A consistent palette can still include a visibly independent hood where that is more practical than forcing every component behind a matching front.
6. Compare the complete kitchen scope
Separate appliance supply, installation, cabinetry, related services and making-good. Confirm owner purchases and responsibilities in writing. At handover, have the responsible parties demonstrate the equipment and access. Keep the installation and care documents; a neat photograph alone does not establish that the complete system is ready.
Compare the options
| Option | Useful when | Resolve first |
|---|---|---|
| Visible independent hood | The equipment can be expressed openly | Installation route and cleaning |
| Cabinet-integrated hood | The selected model supports a coordinated front | Required space and removable access |
| Alternative equipment arrangement | The initial concept is unsuitable | Supplier and premises assessment |
A practical planning example
An illustrative kitchen concept shows upper shelves continuously above the hob. Selecting the actual hood reveals that part of this space is needed for equipment and access. Revising the internal arrangement before fabrication is more useful than promising storage that cannot be used. This is not a completed Crown Interior Design project.
Frequently asked questions
Can any hood be hidden in a cabinet?
Only a suitable product and coordinated installation should be considered. Confirm the actual supplier requirements.
Does a matching front improve performance?
Appearance does not establish extraction or other technical performance. Have the relevant system assessed.
What should the drawing show?
The selected model, required space, relevant route and access details, with responsibilities for specialist coordination.
Related planning: Kitchen Cabinet Design Singapore: Layout & Storage Guide · Renovation Drawings: 7 Checks Beyond the 3D Render.
For a separate reference, use RenoLinkUp’s owner-supplied renovation items checklist.
References
Explore the related decision in Kitchen Corner Cabinets: 6 Singapore Planning Checks.
Plan your project with Crown Interior Design
Send your floor plan, photographs, intended use and budget priorities. Explore Crown Interior Design’s services and residential projects, then request a tailored quotation. Confirm the scope and any specialist involvement for your actual premises.