
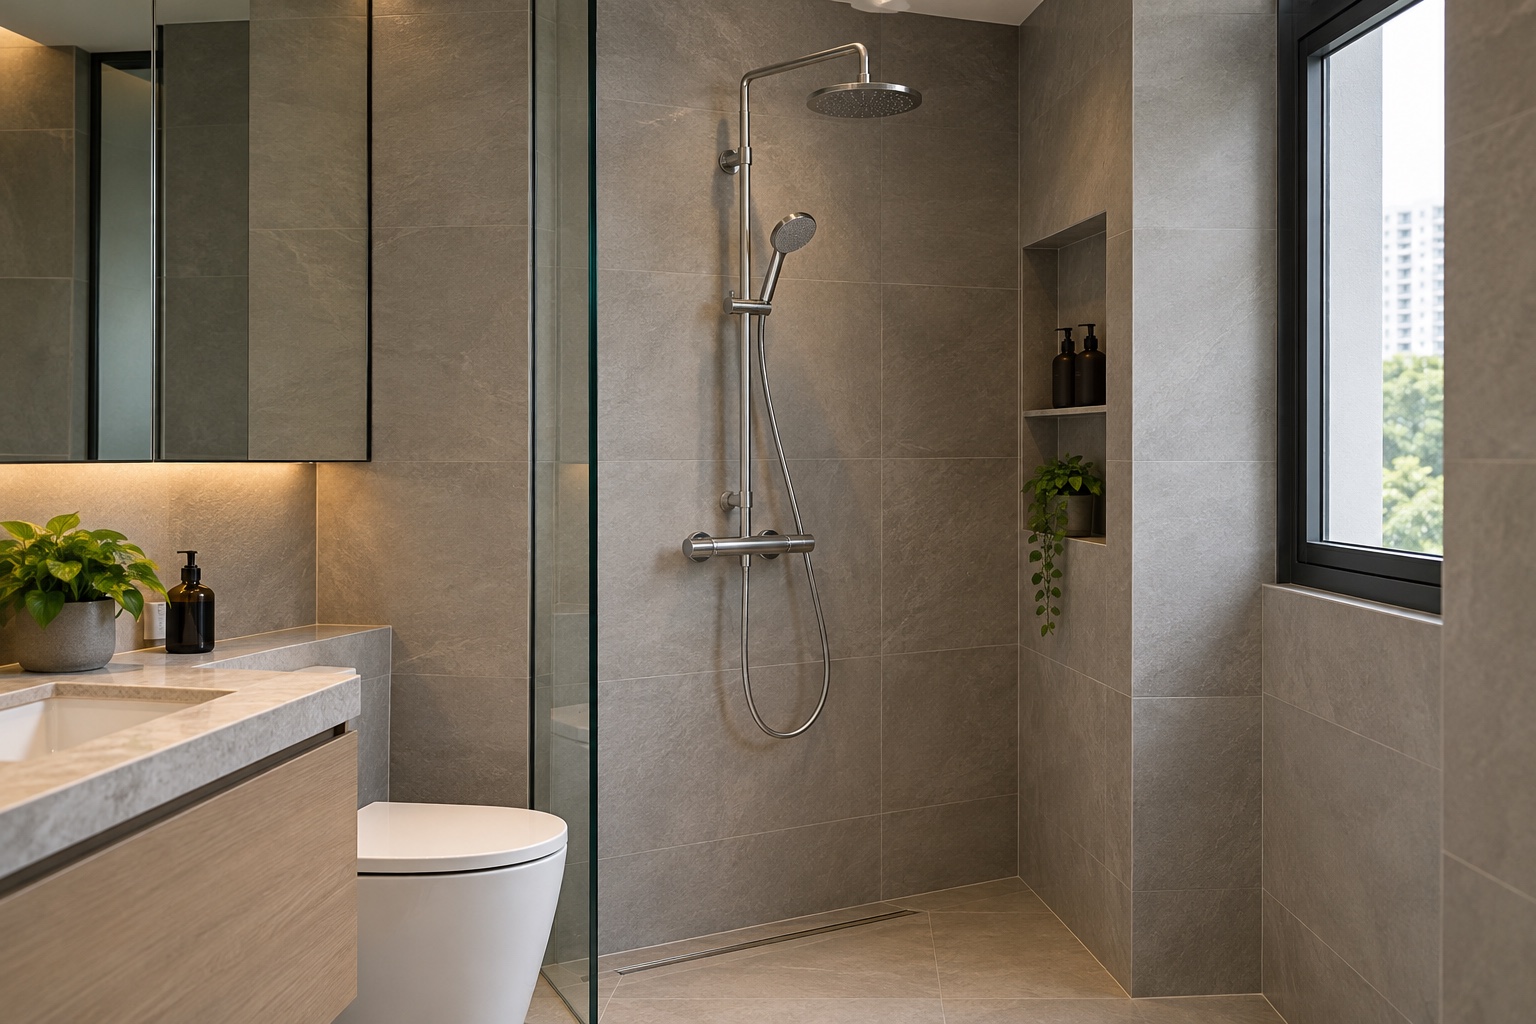
The choice between a concealed and exposed shower mixer is partly a decision about how much of the bathroom you intend to disturb. Concealed controls keep much of the assembly behind a surface; exposed controls leave more of it visible. Neither choice should be made from appearance alone.
Resolve the product, wall construction, existing finishes and access for future servicing together.
Featured image: AI-generated design concept; not a completed Crown project or an approved technical drawing.
1. Separate a refresh from a full wet-area renovation
If the bathroom finishes are staying, start by assessing compatible exposed replacements. A concealed system can involve a wider installation scope. Hansgrohe's installation guide describes the difference and recommends specialist involvement.
Do not assume an existing exposed mixer can be converted by changing the visible trim alone.
2. Check the wall before proposing concealment
Have the contractor assess the actual wall and proposed installation. In an HDB flat, review applicable alteration and bathroom-finish requirements before committing to chasing, boxing or replacement finishes. Do not infer that a wall can be cut from the depth of a product drawing.
Keep the technical feasibility separate from the preferred appearance.
For a full bathroom renovation beyond the mixer itself, read HDB Toilet Renovation Singapore: Cost & Planning Guide.
3. Choose a complete compatible system
Confirm the exact valve body, trim, diverter and outlets required for the intended shower. Ask the supplier which parts are supplied together and which are separate. Similar-looking controls can belong to different systems.
Record all model references on the specification rather than relying on a showroom photograph of the finished faceplate.
4. Match the controls to the actual outlets
Decide whether the shower has a hand shower, overhead shower or other intended outlet. Ask the supplier to confirm the selected control arrangement and required installation conditions. Do not add features after the concealed components have been specified.
A new outlet can affect plumbing, controls and the surrounding finish, not just the visible showerhead.
Define the work around concealed components alongside Bathroom Waterproofing Scope: 8 Renovation Checks.
5. Review reach and operation in the room
Mark where the user stands to turn on and adjust the shower. Check the door swing, screen and projection of the selected controls. Try a relevant sample for grip and legibility.
The most minimalist control is not necessarily the easiest for every household member to operate, especially when wet hands or limited reach are involved.
6. Ask exactly how servicing is carried out
Request the manufacturer's maintenance information and ask which parts can be reached through the trim opening. Do not describe every concealed system as needing tile removal for every repair, or assume every component is accessible without disturbing finishes. Have the installer identify access and the likely consequences of replacing the concealed body itself.
Consider moisture management in the wider room with Bathroom Ventilation: 7 Singapore Renovation Checks.
7. Define the making-good and waterproofing interfaces
Record what finishes are removed, who reinstates them and how adjoining work is coordinated. Check the proposed sequence before walls are closed. A supply quote for a mixer is not a full bathroom scope.
PUB distinguishes simple fitting tasks from regulated plumbing work; the actual alteration should be assigned to appropriately qualified parties.
8. Keep records for a future replacement
Save model numbers, photographs taken by the installer before closure and the relevant manuals. Identify the installed system rather than only the decorative range. At handover, have the installer demonstrate operation and the completed checks.
If you change your preferred finish later, confirm compatibility before ordering a new trim.
A practical planning example
The following is a hypothetical planning scenario. A homeowner wants a slimmer shower appearance but intends to retain existing bathroom tiles. The first comparison should be a compatible exposed replacement versus the complete scope of a concealed conversion.
The second option may involve wall assessment, plumbing alterations and making good. If those works are not suitable or proportionate, a carefully selected exposed system can remain the better design decision. This is a planning example; it does not establish permission for wall alterations in any particular flat.
Compare the scope before committing
| Option | When to consider it | What to confirm |
|---|---|---|
| Exposed mixer | More of the assembly remains visible | Existing connections and replacement fit |
| Concealed mixer | A simpler visible control area | Wall feasibility and component access |
| Partial visual refresh | Retain suitable underlying work | Confirm exact replacement compatibility |
References for your renovation brief
Check the current guidance and the exact product or premises requirements with the responsible professional. Product examples below do not establish compatibility for every brand or model.
- Hansgrohe concealed-shower installation guide
- HDB building-work renovation guidelines
- PUB plumbing-work guidance
Frequently asked questions
Does a concealed mixer always require hacking for repairs?
No. Access depends on the exact system and fault. Ask which components are serviceable through the trim and what replacing the concealed body would involve.
Can I use any trim with an existing concealed valve?
Do not assume that. Confirm compatibility with the supplier using the exact installed model.
For a real Crown residential interior reference, explore 178C Hougang Citrine. Its portfolio photographs are separate from the conceptual illustration in this guide; they do not demonstrate every product or installation discussed here.
Discuss your renovation scope with Crown
Send Crown your bathroom photographs and the intended shower system to discuss the renovation scope and request a quotation. Start with Crown’s interior design services, or contact the team with your brief. Confirm site conditions, specialist responsibilities and the agreed work before ordering.