
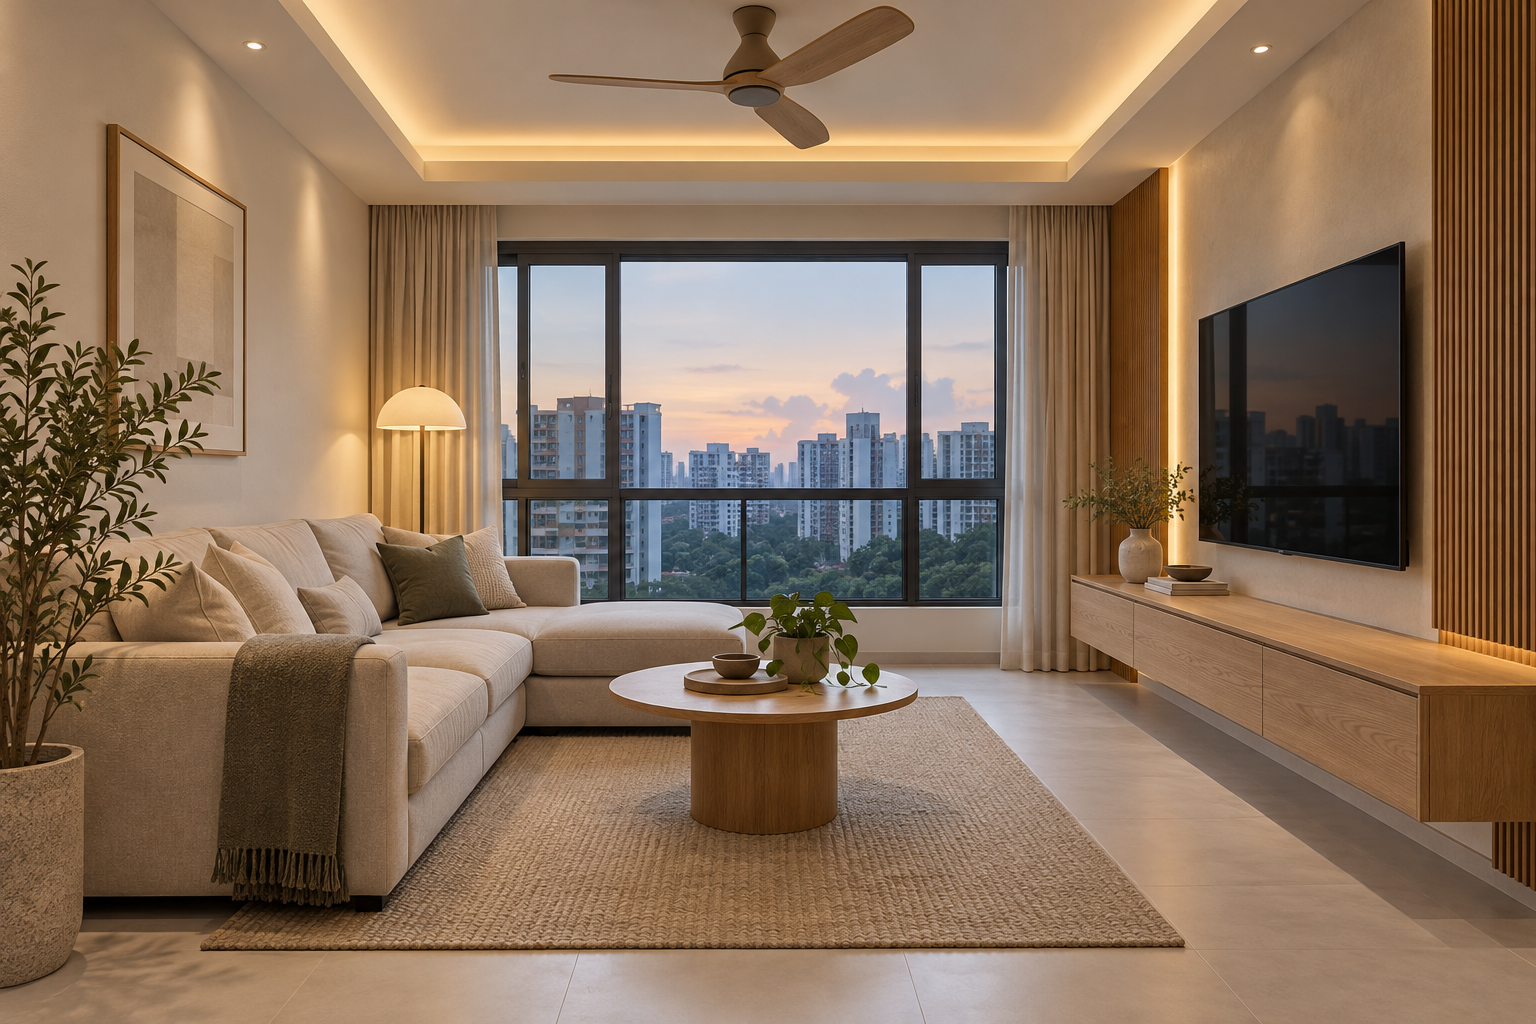
Cove lighting can create indirect light by concealing the source within a recess, but the glow should support the room rather than become an automatic border around every ceiling. In a Singapore renovation, its usefulness depends on the geometry, finishes, furniture and other lighting in the space.
This guide focuses on the design and coordination of an indirect-light detail. It complements a general HDB lighting or false-ceiling guide. Product selection, electrical design, installation and any necessary building checks belong with the appropriately qualified parties; this is not a wiring or construction instruction.
1. Give the indirect light a purpose
Decide whether the cove should provide a softer general layer, emphasise a selected surface or support an evening setting. It may not provide the task light needed for reading, cooking or work. Mark those activities on the plan first. A room with an attractive ceiling glow can still leave useful surfaces poorly lit. Ask how the cove fits the complete lighting arrangement rather than approving it as a standalone decorative feature.
2. Review the actual ceiling conditions
Provide the room dimensions, existing ceiling and known services to the design and installation team. The proposed recess affects the room’s visual proportions and interfaces. Do not choose its shape from a larger reference without checking your own space. Where new ceiling work is proposed, establish the applicable requirements and responsibilities. A rendering does not resolve support, services or the practical construction of the detail.
3. Check the view from ordinary positions
Review how the source and illuminated surface appear from the sofa, bed, doorway and dining seats. A detail that looks concealed from one camera angle may expose the fitting from another. Ask for a relevant demonstration or mock-up where the effect is important. Compare the proposed surface finish and colour as part of that review. The visual result depends on the assembly, not just the light strip’s product description.
4. Choose compatible products and controls
Have the responsible specialists coordinate the light source, driver and controls for the intended operation. Do not assume any dimmer works with any strip or driver. Ask how the system behaves across the requested settings and who resolves compatibility issues. Electrical work should be carried out or supervised by the appropriately licensed electrical worker in line with EMA guidance. Keep the agreed product schedule with the drawings.
5. Retain access for maintenance
Identify where equipment is installed and how it can be reached or replaced later. A perfectly concealed detail is not useful if ordinary maintenance requires damaging fitted work. Ask the supplier about replacement and available product information. Coordinate access with cabinetry, ceilings and curtains. The final installation should be understandable to the household and the person servicing it, rather than relying on the original installer remembering an undocumented arrangement.
6. Use the effect selectively
Compare a limited cove detail with an extensive perimeter treatment. More illuminated edges can make a compact room visually busy and add construction and maintenance interfaces. Consider whether a wall light, lamp or simpler ceiling arrangement would better support the activity. Review evening use as well as the daytime appearance. A balanced lighting scheme does not require the same indirect detail in every room simply to make the home feel coordinated.
7. Specify and test the completed system
Include ceiling work where applicable, light source, drivers, controls, electrical work, finishing and access. Clarify which items are supplied by the owner. At handover, test the agreed settings and other task lights together. Keep product and installer details. Crown Interior Design can coordinate the interior effect with the wider renovation brief, with technical design and installation responsibilities clearly allocated before work starts.
Compare the options before committing
| Option or decision | Useful when | Check before approval |
|---|---|---|
| Selected indirect detail | A softer layer serves a defined activity | Source visibility, surface and control |
| Extensive perimeter treatment | The room genuinely benefits from it | Visual proportion, interfaces and upkeep |
| Simpler alternative | Less fixed construction serves the need | Useful light at actual activities |
A worked planning example
An illustrative living room needs comfortable evening light and a reading seat. A limited cove may provide one layer, while a suitable reading light serves the chair. A sample and control test helps the owner assess the result without assuming the indirect layer can do everything. This example specifies no electrical load, construction dimension or universal brightness level.
What to bring to the design discussion
- Furniture plan and actual lighting activities
- Existing ceiling and service information
- Coordinated product and control schedule
- Maintenance access and complete installed scope
Frequently asked questions
Can cove lighting replace all other lights?
Not automatically. Check the actual tasks and complete lighting arrangement.
Can any strip be dimmed with any control?
No blanket assumption is safe. Have the responsible specialists confirm compatibility of the exact system.
Should the driver be hidden permanently?
Plan suitable access and maintenance with the supplier and installer. Concealment should not prevent ordinary servicing.
Plan your project with Crown Interior Design
Send your floor plan, current photographs, intended use, timing and budget priorities. Explore Crown Interior Design’s design and renovation services and residential projects, then request a tailored quotation. The proposed scope and any specialist involvement should be confirmed for your actual premises.
Continue planning: 8 HDB Lighting Design Decisions Before Renovation · 6 False Ceiling Checks for Your HDB Renovation · 7 Track Lighting Decisions for Singapore HDB Homes.
For a separate practical checklist, see RenoLinkUp’s interior design mock-up checklist.