
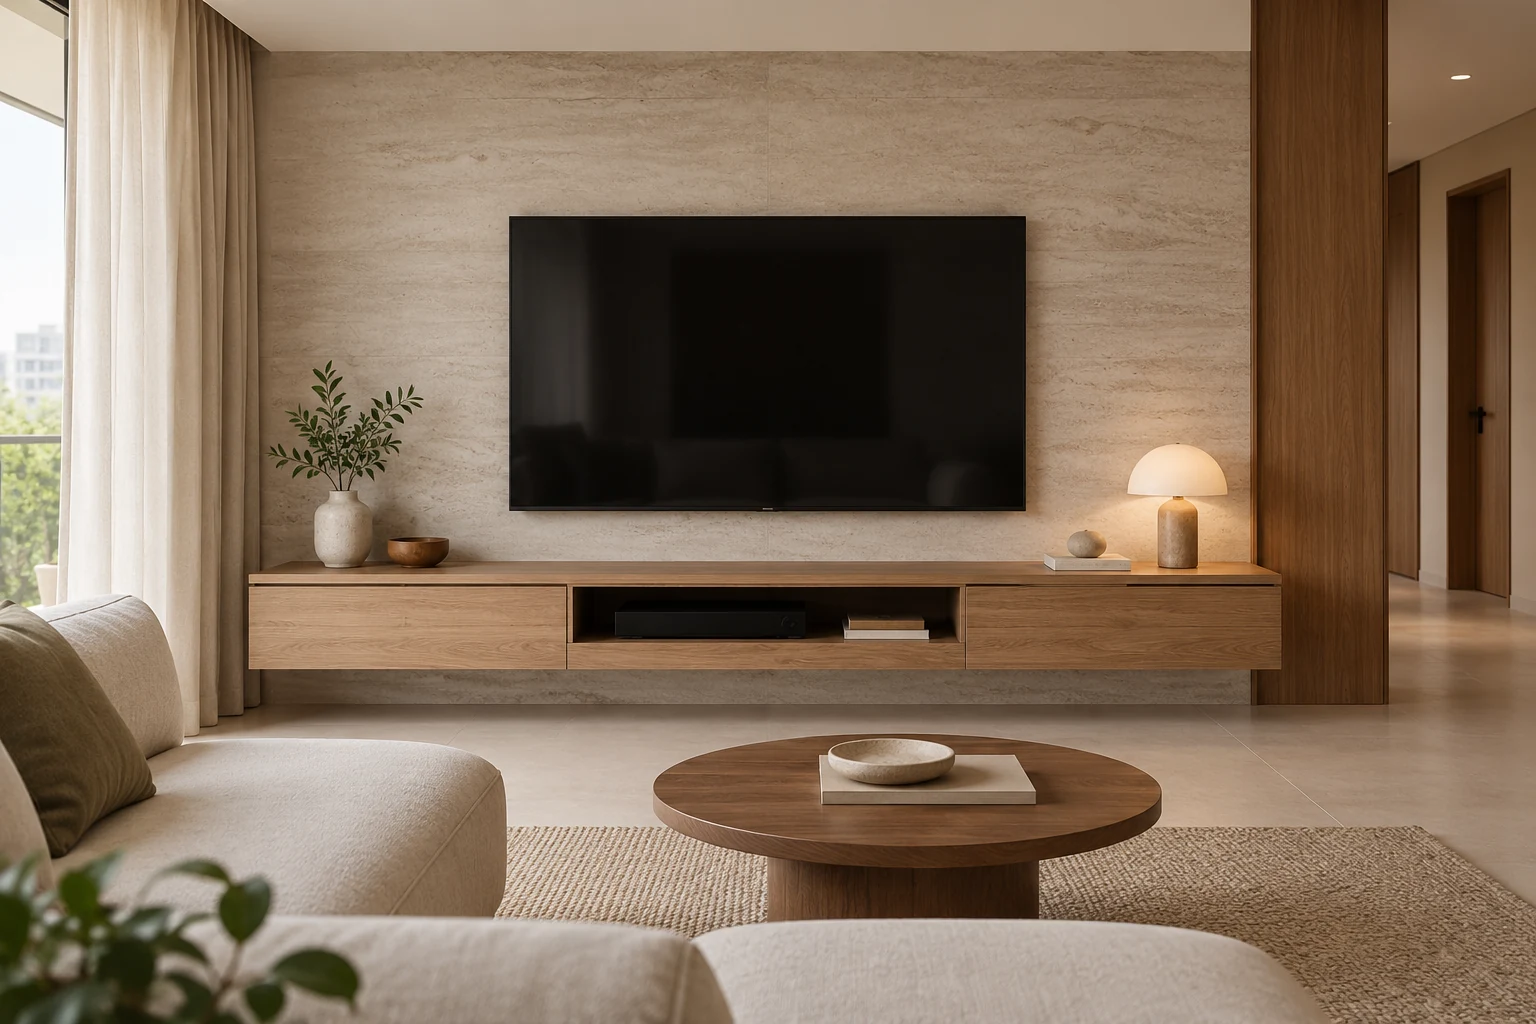
A custom TV console can organise a Singapore living room without turning the entire wall into fixed carpentry. The right design depends on the equipment you use, the objects you store and the way you clean. Its success is measured as much by accessible cables and usable drawers as by the photograph of the finished room.
This guide focuses on the low media cabinet itself. If you are considering cladding, decorative panels or a larger wall composition, compare that work separately from the low cabinet. Keeping those decisions distinct helps you avoid buying more fixed work than the room needs.
1. Decide what belongs in the console
List every device before choosing cabinet divisions: streaming box, game console, router, amplifier, soundbar, charging equipment and any future additions you already anticipate. Record model dimensions and use the manufacturer’s information for ventilation, connections and operating clearance. Equipment volume alone does not establish a suitable enclosure.
Then list the household storage. Controllers, spare cables, children’s games and documents require different compartments. Decide what should remain visible and what can be closed away. A console with symmetrical doors can look balanced while leaving one awkwardly large cavity inside; internal planning should follow actual belongings rather than only the external divisions.
2. Choose wall-hung or floor-supported construction
A wall-hung cabinet can create an open floor line, but its mounting arrangement needs to suit the wall, cabinet and intended load. Ask the installer how suitability will be checked. Do not infer load capacity from a render or assume the same fixing method applies to every wall.
A floor-supported console can simplify some support decisions but still needs appropriate stability and coordination. Check how skirting, floor level and cleaning access affect the base. If the cabinet uses legs or a recessed plinth, ask how corners will be cleaned and whether small objects can disappear beneath it. Choose the arrangement for the actual room and maintenance routine.
3. Coordinate height with the television and seating
Check the relationship between seat position, screen location, soundbar and console. A cabinet copied from an inspiration photograph may suit a different sofa, television size or viewing distance. Use the intended furniture and discuss the overall viewing arrangement before fixing heights.
Also consider people moving through the room. A deep projecting cabinet may narrow the route to a bedroom or balcony, while an unusually shallow cabinet may not accommodate the equipment properly. Tape the proposed footprint on the floor and test normal circulation. This makes a dimension on a drawing easier to judge without pretending that there is one ideal depth for every HDB living room.
4. Design cable routes for replacement as well as concealment
Plan where power and signal connections enter, how cables pass between compartments and how a device can be unplugged later. Ask whether shelves, backs or access panels are removable and who should remove them. A completely sealed-looking cabinet may be attractive but inconvenient when the router or television changes.
Avoid arrangements that require dismantling the console for ordinary servicing. Provide the designer with the actual equipment connection positions, including plugs that project from the rear. If electrical alterations are proposed, route that scope through the appropriate licensed worker; refer to EMA’s licensed-worker guidance. Carpentry access is not a substitute for safe electrical installation.
5. Check doors, drawers and remote operation
Drawers can organise small accessories, while doors can suit larger equipment or less frequently used items. Check the selected hardware, usable internal space and how the front opens. A drawer beneath a low-mounted soundbar or projecting equipment shelf should be tested for interference on the drawing.
Confirm how devices receive commands and how wireless signals behave in the proposed arrangement. Do not assume every remote or router will work through every closed panel. Ask the equipment supplier where necessary and test the intended setup before finalising a restrictive enclosure. An open niche may be more useful than a closed door if access and heat management are important.
6. Choose finishes around contact and cleaning
The console top is often used for keys, ornaments and drinks even when it was intended only as a visual surface. Decide how the household will actually use it and select a finish accordingly. Ask for product-specific cleaning guidance and clarify the treatment of edges and exposed corners.
View the finish beside the flooring, wall and adjacent furniture in the actual light where possible. Several almost-matching timber patterns can make a room feel less coordinated than a deliberate contrast. A curved end can soften a circulation corner, but it may affect construction, usable storage and price. Review a clear detail rather than assuming the curve is only a cosmetic change.
7. Compare quotations using the same specification
Do not compare two prices based on cabinet length alone. Depth, height, internal divisions, substrate, finish, hardware, support, access panels and installation conditions all affect the scope. Ask whether wall preparation, electrical coordination, delivery, protection and removal of existing work are included.
For an existing home, establish what remains behind the old console and whether patching will be needed. For a new BTO, decide whether the cabinet is part of a wider living-room package or a stand-alone item. Request an itemised explanation where the alternatives differ. The custom carpentry quotation guide can help you compare the broader specifications.
8. Inspect the console in ordinary use
At installation review, operate every moving part and check the agreed internal arrangement. Test equipment access without pulling cables tightly or obstructing the intended ventilation. Ask the installer to demonstrate removable panels and any adjustment points.
Check the console with the actual television, soundbar and devices wherever possible. If an owner-supplied item has not arrived, record what still needs checking and who will complete the setup. Retain hardware and finish information for maintenance. A tidy photograph is the beginning of the review, not evidence that every interface has been resolved.
Compare three useful configurations
| Configuration | Useful when | Check carefully |
|---|---|---|
| Floating closed storage | You want an open floor line and hidden accessories | Wall suitability, load and service access |
| Floor-supported drawers | Small items need organised storage | Stability, floor junction and usable drawer depth |
| Mixed open and closed sections | Equipment needs access while clutter stays hidden | Device ventilation, cables and visual balance |
A practical planning example
A family wants a slim floating console but also intends to store an amplifier and two game consoles. Rather than forcing the equipment into shallow closed compartments, the designer should review the actual models, connections and operating requirements. The family may choose a deeper equipment section with accessible cabling and shallower drawers elsewhere, or a different support arrangement.
The useful result is a cabinet that supports the selected equipment and leaves a comfortable route through the living room. This is an illustrative planning scenario, not a claim about a completed Crown Interior Design project or a universal technical specification.
Frequently asked questions
Is a custom console better than a loose one?
Custom work can address a particular wall, equipment arrangement or storage requirement. Loose furniture may suit a flexible layout or future move. Compare fit, access, installation scope and total cost before deciding.
Can I hide all devices behind doors?
Only if the selected equipment’s operating, ventilation and control requirements are accommodated. Confirm the actual models and installation guidance rather than relying on appearance.
Does every console need a feature wall?
No. A well-proportioned low cabinet and a simple wall may be enough. Choose additional cladding only when it serves the room and budget.
Review the media cabinet in the dimensioned renovation drawing package, including equipment openings and the agreed access details.
Plan your living-room carpentry
Explore Crown Interior Design’s services and residential projects. Send the floor plan, wall photographs and equipment list to discuss a console and renovation scope suited to your home.