
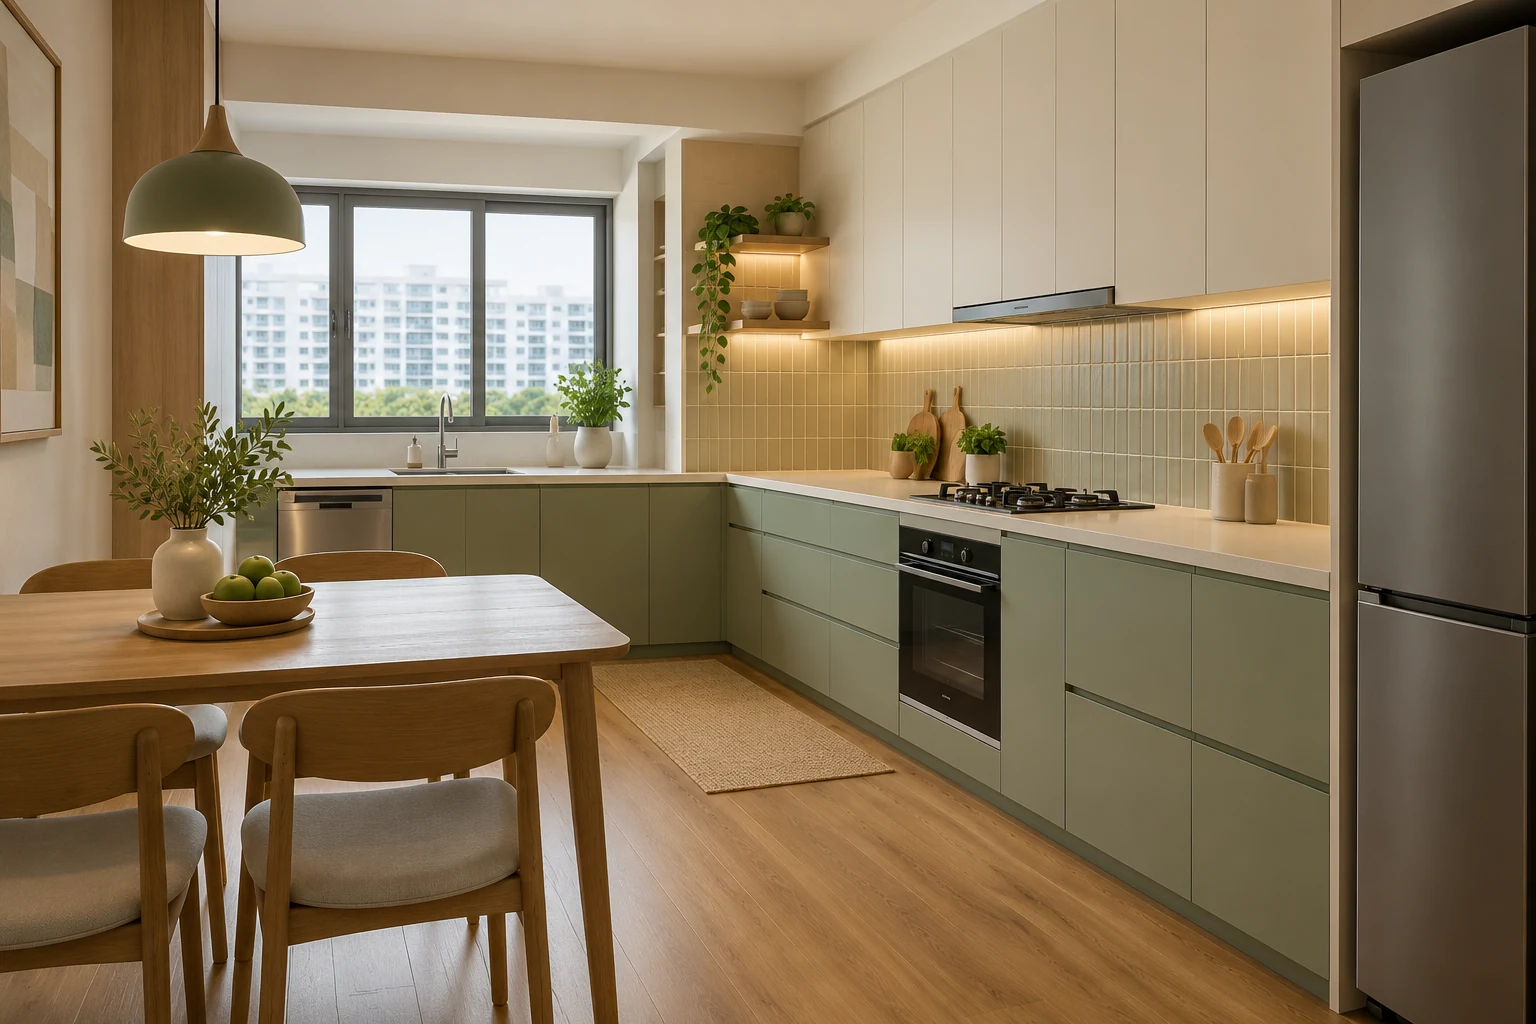
A room can contain individually attractive materials that do not work together. A timber pattern may look different beside the actual floor, or a glossy surface may reflect more light than expected. Renovation material selection should therefore compare a complete palette under realistic conditions rather than approve isolated photographs.
For Singapore homeowners, the goal is a record that explains what will be supplied, where it will be used and which details still need confirmation. A sample is part of that process, not a guarantee that every installed surface will look identical.
1. Reduce the palette to the major surfaces
Start with flooring, large cabinetry, walls and worktops before adding smaller accents. Compare the amount of each material that will be visible. A strong texture that looks interesting on a small sample can dominate a full wall. Identify which surface is the main feature and which should support it. This avoids several finishes competing simply because each looked attractive during a separate showroom visit.
2. Review samples together in useful light
Place the proposed materials beside one another and, where practical, in the actual room. Look under daylight and the intended artificial lighting. A phone photograph can help record a discussion but should not be treated as a reliable colour match. View samples vertically or horizontally as they will be installed, since reflections and texture can change with orientation. Include retained furniture and existing finishes in the comparison.
3. Look beyond colour names
Record the manufacturer, range, product reference, finish and intended location. Similar names can refer to different products, and a visualisation may not reproduce a real texture or sheen. Ask what variation to expect across a larger surface and how patterned materials will be arranged. Where a product naturally varies or comes in batches, review the supplier’s information and agree what approval will be required before installation.
4. Check edges, junctions and cleaning
A material’s appearance on its face does not explain how its edge or corner will be finished. Ask for the detail where worktops, cabinet panels, backsplashes and floors meet. Consider the places people touch or clean most often. Follow product-specific care instructions rather than assuming all stone-look or timber-look finishes behave alike. A refined palette should still suit the household’s ordinary use and maintenance habits.
5. Confirm availability before freezing the programme
Ask which selections are in stock, require ordering or depend on a particular batch. Confirm who is responsible for orders and when the decision is needed. If an alternative becomes necessary, review its appearance and performance as a new choice rather than approving it solely because the colour seems close. Record any effect on cost, fabrication detail or timing through the agreed change procedure.
6. Keep a location-based approval schedule
Create a simple schedule showing each room or component, product reference, approved sample and decision date. Note outstanding items and who must resolve them. A message saying “use the cream one” is ambiguous when several similar samples have been discussed. Retain the final schedule with the drawings and quotation so the installed materials can be checked against one consistent record rather than scattered photographs.
Compare the practical options
| Option | Useful when | Resolve before approval |
|---|---|---|
| Digital image | Early exploration and communication | Screen colour and texture are not final approval |
| Physical sample | Comparing finish, sheen and coordination | Scale, orientation and batch variation |
| Mock-up or larger review | A critical junction or substantial feature needs checking | Agreed detail and representative materials |
A planning example
A couple approves cream cabinetry from one showroom and a warm floor from another. Reviewing the samples together reveals that the cabinet looks much cooler beside the floor than expected. They can adjust the palette before ordering rather than trying to correct the relationship with accessories later. This is an illustrative selection exercise, not a completed Crown Interior Design project or a claim that one undertone suits every room.
Frequently asked questions
Can I approve materials entirely online?
Digital references are useful for shortlisting. For important finishes, review representative physical samples and written product information where practical.
Will the installed material match a small sample exactly?
Variation depends on the product, pattern, batch and installation. Ask the supplier what is representative and record the agreed expectations.
What if a selected product becomes unavailable?
Review the substitute as a new decision, including appearance, suitability, detail, price and timing. Do not rely on an unspecified similar replacement.
Related planning: Interior Design Consultation: 7 Things to Prepare · Renovation Drawings: 7 Checks Beyond the 3D Render · Renovation Variation Orders: 8 Checks Before Approval.
For a separate practical reference, use RenoLinkUp’s interior design mock-up checklist.
Explore the related decision in Plywood vs MDF: 6 Singapore Carpentry Specification Checks.
Discuss your project with Crown Interior Design
Send your floor plan, current photographs, intended use, timing and spending priorities. Explore Crown Interior Design’s services and residential projects, then request a tailored quotation. Confirm the proposed scope and any specialist involvement for your actual premises.