
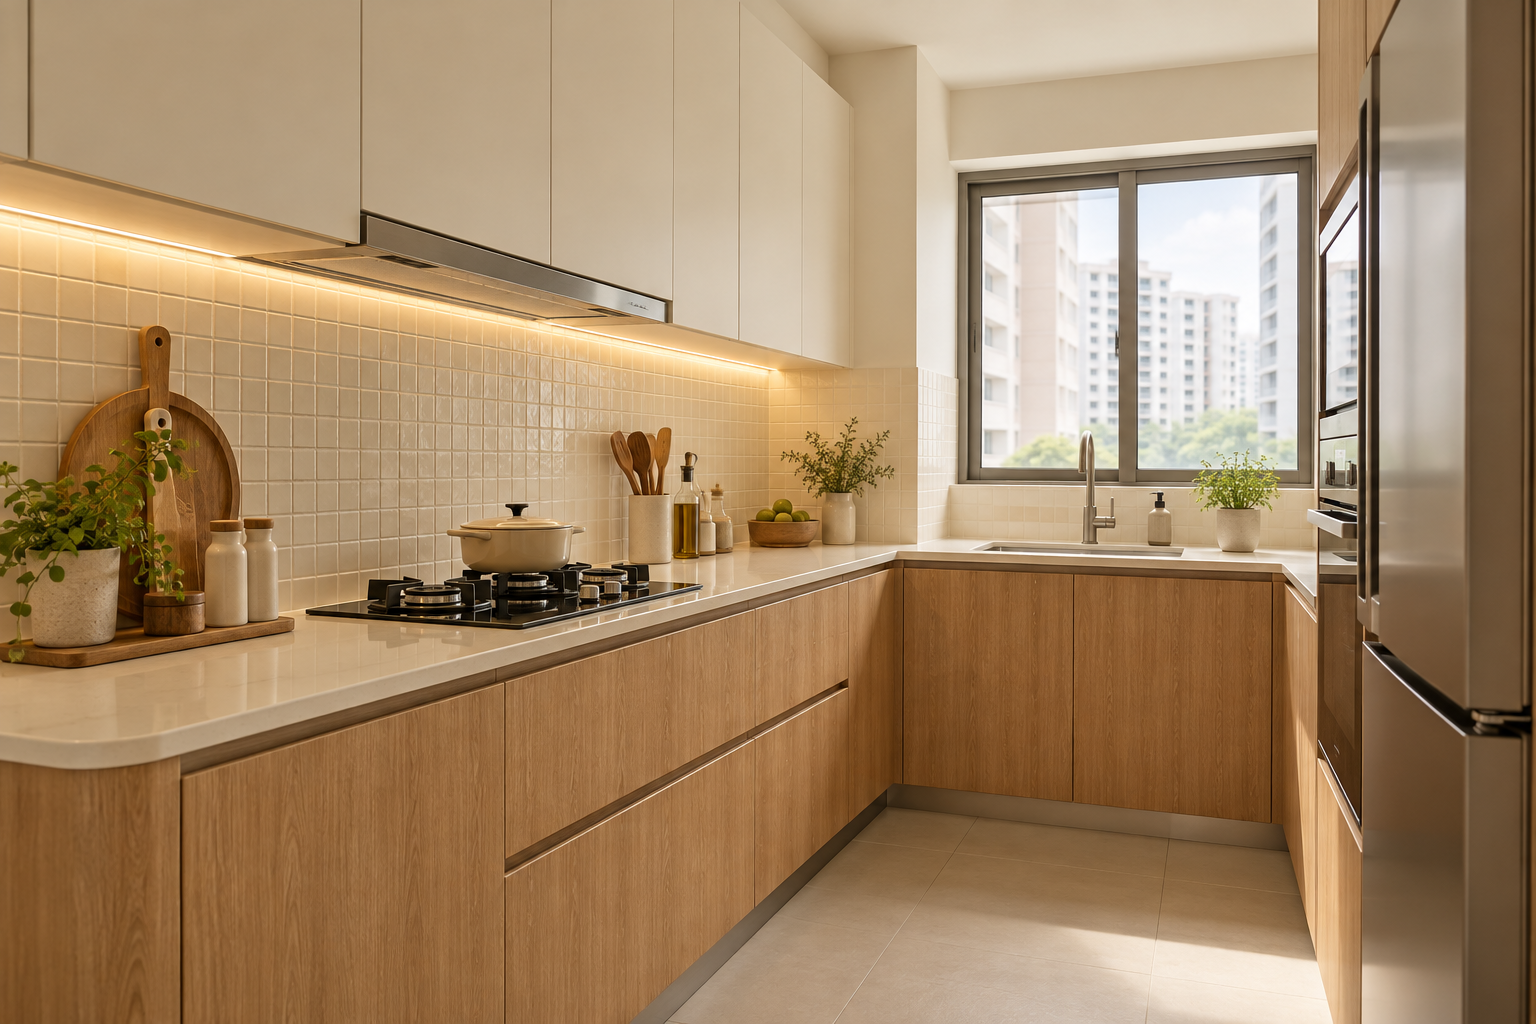
A kitchen backsplash protects one of the most visible working surfaces in the home. In a compact Singapore kitchen, it also links the worktop, cabinets and lighting. The right choice is not simply the tile that looks best on a phone: it is the finish you can clean, detail and replace sensibly around your cooking routine.
Choose the backsplash while the kitchen is being planned, before socket positions and cabinet dimensions are fixed. These seven decisions help avoid awkward cut-outs, unfinished edges and a surface that is attractive in a showroom but frustrating behind a working hob.
By Crown Interior Design. Planning guidance for Singapore homes; the final scope should follow a site assessment.
1. Choose the area that needs protection
Mark the cooking and washing zones on an elevation drawing. Decide whether the backsplash runs continuously or stops at a deliberate boundary. A short feature panel may leave adjacent areas exposed to splashes; a full wall can add cost and visual weight. The appropriate extent depends on how the kitchen is used and the chosen wall finish. Include the side returns and the end beside a doorway so the protection does not finish at an arbitrary line.
2. Select a material suitable for its position
Ceramic and porcelain tiles, suitable glass, metal and specified slab surfaces offer different appearances and detailing needs. Ask the supplier to confirm suitability around the actual hob and installation conditions. A decorative adhesive panel or wallpaper should not be assumed suitable near heat simply because it resembles a durable material. Keep the product instructions with the design record. The precise specification and installation matter more than the look of a material in an inspiration photograph.
3. Count the joints you will clean
Small tiles create rhythm but introduce more grout lines. Larger units can reduce the number of joints while requiring careful cuts and handling. Ask how corners, sockets and the countertop junction will be treated. A darker grout can alter the appearance of a pale tile dramatically, so view a sample arrangement rather than a single loose tile. Choose the joint pattern for both its visual effect and the cleaning routine you are willing to maintain.
4. Coordinate sockets and appliances early
Show the real hood, hob, switches and outlets on the elevation. Avoid a plan in which a decorative pattern is repeatedly interrupted by fittings that were added at the last minute. Electrical requirements and safe installation take priority over a symmetrical photograph. Let the responsible electrician confirm the arrangement. If the sink or appliances change after the backsplash is ordered, review the affected cuts before installation rather than hoping the original layout will still align.
5. Test texture under the intended lighting
Under-cabinet light skimming across a wall can emphasise irregular surfaces and tile edges. That may be attractive, but it should be an intentional choice. Review a sample with the proposed light direction and cabinet colour. Gloss can produce reflections, while matte or textured finishes change how light reads. Do not select the wall independently from the countertop: two individually attractive patterns may compete when installed within a small working zone.
6. Design the edges and junctions
Confirm the visible edge treatment at the end of the cabinet run, around windows and at external corners. Ask how the worktop junction is detailed and which trade completes it. If an existing backsplash is retained, inspect its condition and compatibility with the new cabinetry. Overlay should be assessed for the particular substrate rather than assumed to be a quick universal solution. Small unresolved transitions are often more noticeable than the broad surface once the kitchen is finished.
7. Compare supply and installation scope
A useful quotation identifies the product, extent, substrate preparation, removal if needed, cutting, edge trims, installation and making good. Confirm whether electrical or plumbing adjustments are priced elsewhere. Ask for a practical sequence so cabinets, worktop and backsplash are measured and installed in the right order. For replacement work, discuss protection of the retained kitchen. Keep spare material where practical and record the product code for later maintenance rather than relying on a shop photograph.
Compare the options before committing
| Decision | What to confirm | Detail to resolve |
|---|---|---|
| Small-format tile | Pattern and texture are a priority | Grout layout and cleaning |
| Large-format tile or suitable slab | A quieter continuous appearance is preferred | Cuts, handling, joints and edge detail |
| Specified glass | A smooth reflective finish suits the kitchen | Product suitability, templates and cut-outs |
| Metal | A practical working-kitchen character is wanted | Finish, marks and junction detailing |
A practical planning example
Imagine a compact cream-and-oak BTO kitchen with a visually busy countertop. A plain, larger-format backsplash may make the space feel calmer than another strong pattern. In a simpler kitchen, small cream tiles can add useful texture. Neither answer is inherently better: compare the full elevation with appliances, sockets and lighting included. This is an illustrative design exercise, not a claim about a completed home.
What to bring to your design consultation
- Kitchen elevation with sockets and appliances
- Exact material and grout or joint selection
- Side returns, corners and visible edge detail
- Removal, preparation and installation inclusions
Ask for drawings and an itemised proposal that separates confirmed work from assumptions. Compare the complete installed scope rather than a promotional starting price. Explore Crown Interior Design’s renovation and interior design services and residential portfolio to help explain the direction you prefer.
Frequently asked questions
Can I choose the backsplash after the cabinets?
You can finalise some details later, but plan thickness, extent, socket positions and installation sequence early to avoid conflicts.
Are fewer grout lines always better?
They can simplify cleaning, but larger surfaces have their own cutting and handling requirements. Compare the complete installed design.
Can the old backsplash stay?
Possibly, if its condition and interfaces suit the new kitchen. Have the team assess it before treating retention as a saving.
Plan your next step with Crown Interior Design
Share your floor plan, photographs, preferred move-in timing and budget priorities. Request a renovation quotation from Crown Interior Design so the discussion starts with your actual home and scope.
Related reading: Kitchen renovation singapore · Kitchen cabinet design singapore.
For a related planning checklist, see RenoLinkUp’s guide to reviewing material mock-ups. For applicable requirements or product guidance, consult HDB’s current renovation guidance and confirm details for your proposed work.