
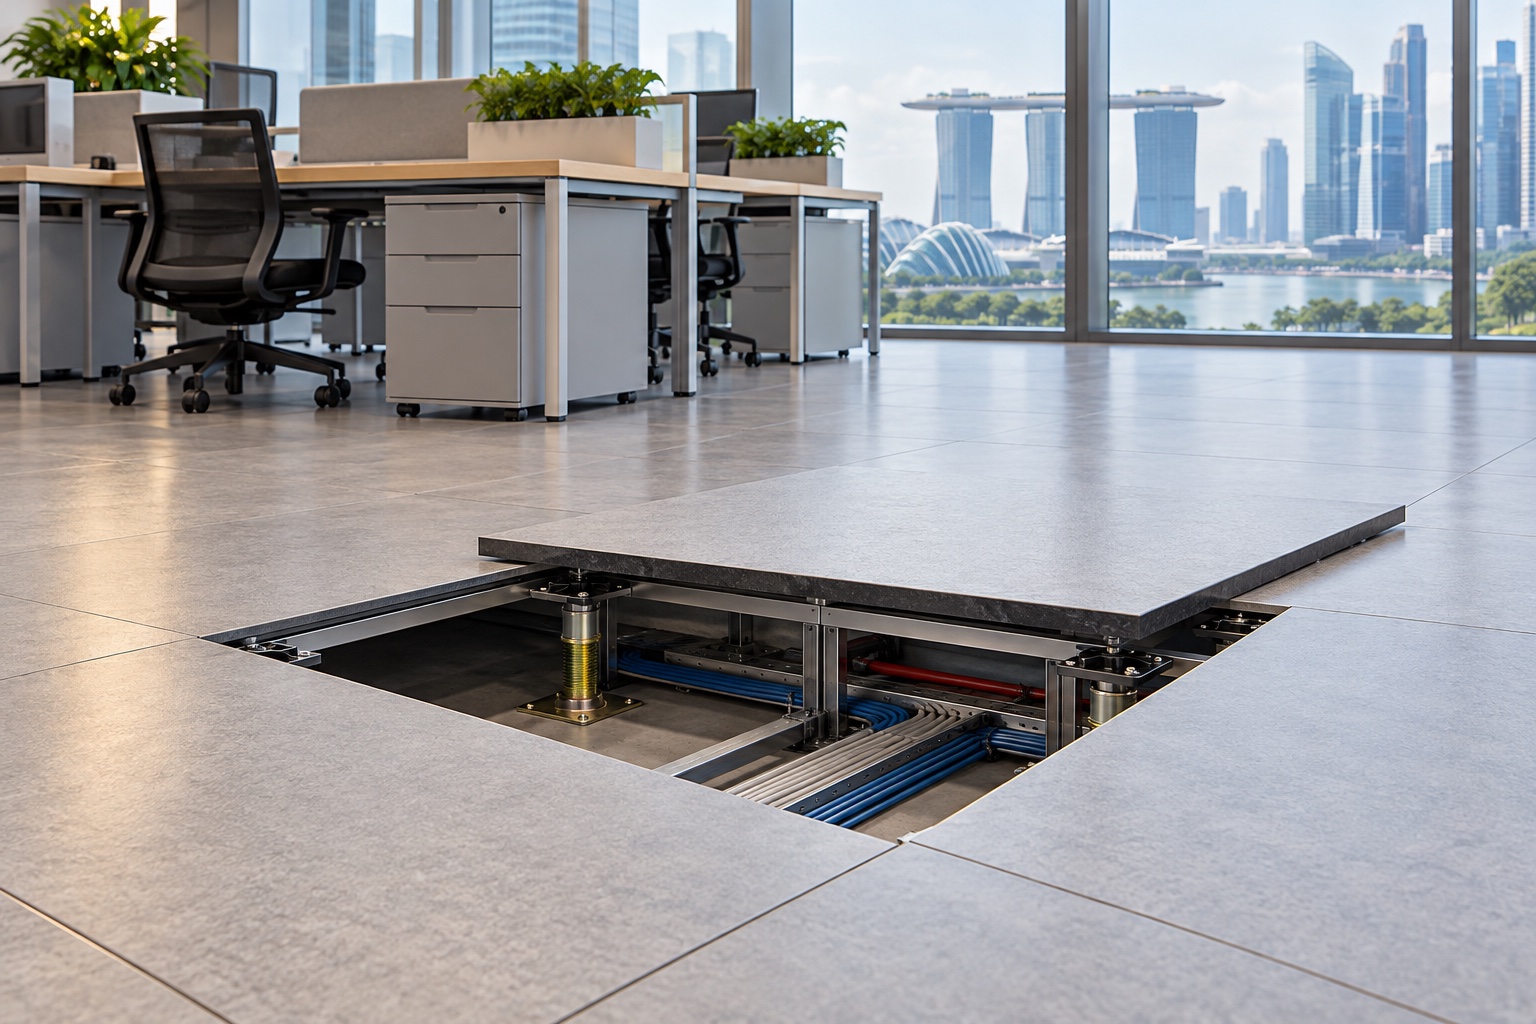
A raised access floor creates a service space above the structural floor and below the usable walking surface. It can help organise some office services, but it also changes floor levels, access and the way finishes are installed. Choose it because the actual services and future-change brief support it, not because every modern office is assumed to need one.
Featured image: AI-generated design concept; not a completed Crown project or an approved technical drawing.
1. State the service problem first
List the power, data or other systems proposed beneath the floor and how often they may change. Compare this with other suitable routing approaches through the responsible specialists. A raised floor is not a substitute for a coordinated services plan.
Ask what benefit it provides in this particular office and what additional maintenance it introduces.
2. Survey existing levels and interfaces
Record entrances, lift-lobby connections, internal doors and adjoining spaces. Have the proposed build-up assessed against the actual premises. A higher floor affects more than the workstations: thresholds, clear heights and access routes may need coordination.
Do not select a system height from another project's photograph or technical schedule.
Compare the finished surface options in Office Carpet vs Vinyl: 7 Singapore Fit-Out Checks.
3. Specify performance for actual use
Give the specialist the intended furniture, equipment, storage and movement loads, including unusual concentrated or rolling loads. Ask for the relevant system performance evidence and installation basis. Different panels and supports have different capabilities.
A generic panel thickness or marketing label is not a complete specification for the finished assembly.
4. Coordinate the panel and workstation layouts
Overlay desks, partitions, service boxes and access panels. Check where connections emerge and how they remain reachable after furniture is installed. A box beneath a fixed cabinet does not provide convenient access.
Keep the service arrangement legible so a future desk move does not depend on opening an unnecessarily large area.
Place floor installation and protection in the wider sequence using 10 Office Renovation Checks Before Work Starts.
5. Detail transitions and routes
Have the responsible team assess level changes, doors and applicable accessibility requirements. Confirm how edges and transitions are finished and protected. Avoid a plan that solves cable routing by creating an awkward step on the main route.
The appearance of a transition should follow an appropriate assessed detail rather than conceal an unresolved level difference.
6. Choose finishes that preserve access
Ask how carpet, resilient flooring or other finishes relate to the removable panels. Confirm adhesive, joint and replacement arrangements for the exact system. A continuous finish can undermine the intended service access if its removal is not planned.
Compare the completed floor, not the access-floor panels and surface material as separate purchases.
Coordinate specialist service spaces separately with Office Server Rooms: 7 Singapore Fit-Out Coordination Checks.
7. Protect the system during fit-out
Agree sequencing, loading restrictions, material storage and protection with the floor specialist. Identify when other trades need access beneath the finished floor. Do not treat panel removal or adjustment as an unassigned general site task.
Keep the services, supports and finish protected through furniture installation and final cleaning.
8. Handover access and maintenance information
Request the agreed system details, layout, spare components and operating instructions. Have the installer demonstrate the approved access method to the responsible facilities personnel. Record any movement, damaged panels or poor transitions for assessment.
Preserve documents so future alterations use the correct components and specialist input.
A practical planning example
The following is a hypothetical planning scenario. An office expects to reconfigure desk clusters regularly, while its archive cabinets will remain fixed. The service layout should place accessible connection points around movable work areas and account for the cabinets' loads and access consequences.
A floor system should not be approved merely because the total office area is known. Its specification needs the equipment, movement and future-change brief. This is a planning example, not a load design or installation instruction.
Compare the scope before committing
| Option | When to consider it | What to confirm |
|---|---|---|
| Raised access floor | A service void is justified | Levels, loads and removable finishes |
| Alternative routing | The brief may not need a floor void | Assess service reach and future changes |
| Retain existing access floor | An installed system is available | Condition, compatibility and revised loads |
References for your renovation brief
Check the current guidance and the exact product or premises requirements with the responsible professional. Product examples below do not establish compatibility for every brand or model.
Frequently asked questions
Does every office need raised flooring?
No. Compare routing options against the actual services, building conditions and future-change needs.
Can any floor finish go over access panels?
Have the exact system and finish assessed together, including how panels will be reached and replaced.
See Crown’s Wanhua Chemical office project for a real workplace interior reference. It is not presented as an example of every system or industrial use discussed in this guide.
Discuss your renovation scope with Crown
Send Crown your office plans, equipment information and service-routing needs to discuss the renovation scope and request a quotation. Start with Crown’s interior design services, or contact the team with your brief. Confirm site conditions, specialist responsibilities and the agreed work before ordering.