
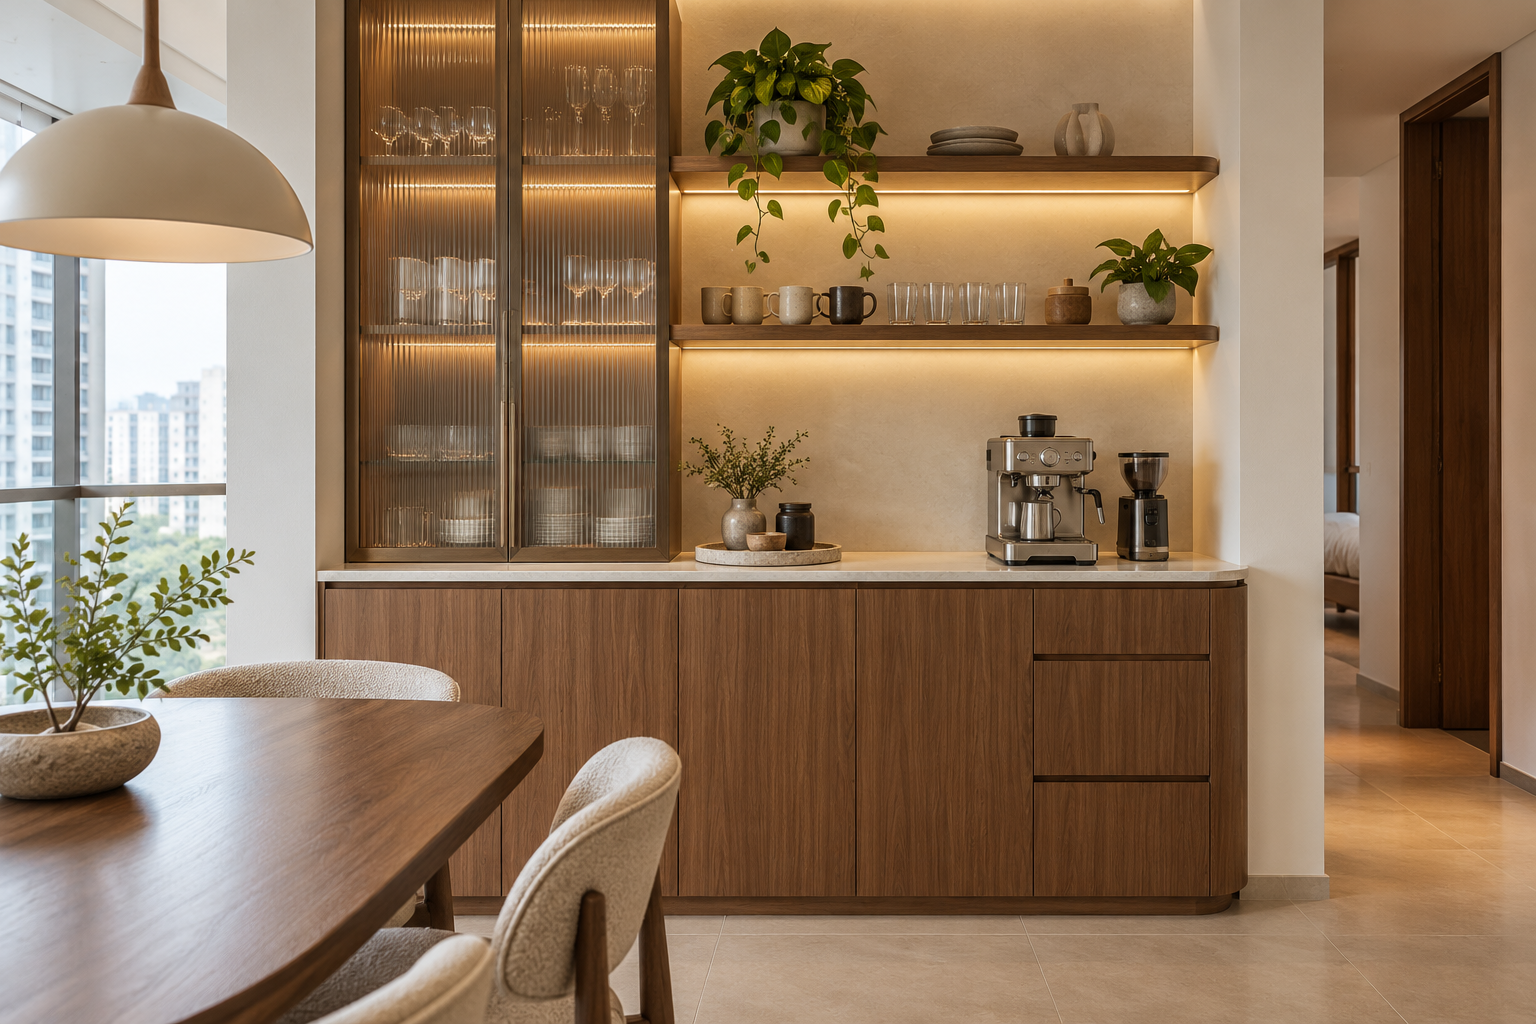
Home bar design in Singapore often works best as a compact beverage station rather than a miniature commercial bar. It might organise coffee equipment, glassware and drinks beside the dining area. The right design depends on what you prepare, how often you host and whether a new cabinet would genuinely free useful kitchen space.
This guide focuses on the fitted beverage cabinet and its interfaces. It does not assume that a sink, wine fridge or raised seating is necessary. Start with the equipment and routine, then decide how much fixed work is justified.
1. Write a beverage routine
List the drinks prepared on ordinary weekdays as well as when guests visit. A coffee machine used every morning deserves a different location from glassware used monthly. Count the equipment, consumables and cleaning items. Decide where cups return after use. If the station needs repeated trips to the kitchen for water and washing, that may still be acceptable, but it should be a conscious choice rather than a surprise after installation.
2. Choose the actual appliances early
Obtain the model specifications for any coffee machine, grinder, fridge or water dispenser. Record operating clearances, service access and how water containers or trays are removed. A nominal cabinet niche is not enough. Do not enclose a freestanding appliance simply because its front fits the opening. The designer, supplier and relevant trades should coordinate the proposed use with the manufacturer’s instructions before carpentry is approved.
3. Protect useful counter space
Draw the equipment at full size and show the space needed to prepare and serve. A long counter can become unusable when every surface holds an appliance. Leave a practical landing area for cups and trays. Check whether people using the station will block the dining route. If seating is proposed, include occupied stools and the approach behind them. A slim cabinet without stools may be more useful in a compact apartment.
4. Specify storage by contents
Measure tall bottles, glassware and trays before dividing the shelves. Mix closed storage with a small display section only if the display will be maintained. Ask how heavy items are supported and how frequently used items are reached. Open shelving can look light but creates a cleaning task. Lockable or restricted storage may be appropriate for some households; discuss the actual contents and users rather than treating every cupboard as a generic display.
5. Coordinate light and services
Plan sockets where they are accessible without trailing cables across a preparation area. Electrical work should be carried out or supervised by an appropriately licensed electrical worker, following EMA guidance. If a sink or fixed water connection is proposed, confirm feasibility with the responsible plumbing professionals. Do not add wet services merely to imitate a reference. A dry cabinet can still be a complete and useful design when the kitchen is nearby.
6. Choose finishes for the routine
Coffee, water and frequent wiping create different demands from a purely decorative console. Ask for the specified countertop, edge and backsplash care instructions. Review how spills are cleaned at cabinet joints and behind equipment. A reflective display back may amplify visual clutter or glare. Test material samples with the lighting and existing dining furniture. The most attractive finish is one that the household can maintain without an elaborate daily ritual.
7. Price the station as a complete project
Separate cabinetry, worktop, lighting, electrical work and owner-purchased appliances. Confirm who checks final appliance dimensions and who installs each component. Include access for repair in the drawings. Compare a simple storage console with a fully serviced bar before choosing the scope. If the main aim is organisation, a smaller intervention may be sufficient. Crown Interior Design can help connect the station to the wider dining and kitchen brief.
Compare the options before committing
| Option or decision | Useful when | Check before approval |
|---|---|---|
| Dry beverage cabinet | Kitchen washing facilities are nearby | Counter space and appliance access |
| Cabinet with fridge | A particular model adds daily value | Specified ventilation and service access |
| Wet bar | A sink has a clear practical purpose | Feasibility, plumbing and maintenance |
A worked planning example
An illustrative household owns an espresso machine and a grinder but rarely hosts large groups. A dry counter with useful drawers, coordinated power and nearby cup storage may solve the problem without a sink or bar stools. The quotation should distinguish this modest brief from a fully serviced installation. No appliance dimensions or electrical loads should be guessed from the example.
What to bring to the design discussion
- Appliance model specifications
- Items to store and cleaning routine
- Dining plan with occupied furniture
- Owner purchases and responsibilities for services
Frequently asked questions
Does a home bar need plumbing?
No. A dry beverage cabinet may be appropriate when the kitchen is nearby. Add plumbing only where it has a useful role and is feasible.
Can a wine fridge fit any cabinet?
No. Use the specific model’s installation and ventilation requirements. Confirm whether it is designed for built-in use.
Should the bar match the kitchen?
It should relate to the room, but it need not repeat every kitchen finish. Review the cabinet beside dining furniture and adjacent surfaces.
Plan your project with Crown Interior Design
Send your floor plan, current photographs, intended use, timing and budget priorities. Explore Crown Interior Design’s design and renovation services and residential projects, then request a tailored quotation. The proposed scope and any specialist involvement should be confirmed for your actual premises.
Continue planning: Dining Room Design Singapore: 8 Useful Layout Decisions · 7 Wet and Dry Kitchen Decisions for Singapore Homes · 8 Kitchen Countertop Checks Before You Order in Singapore.
For a separate practical checklist, see RenoLinkUp’s owner-supplied renovation items checklist.