
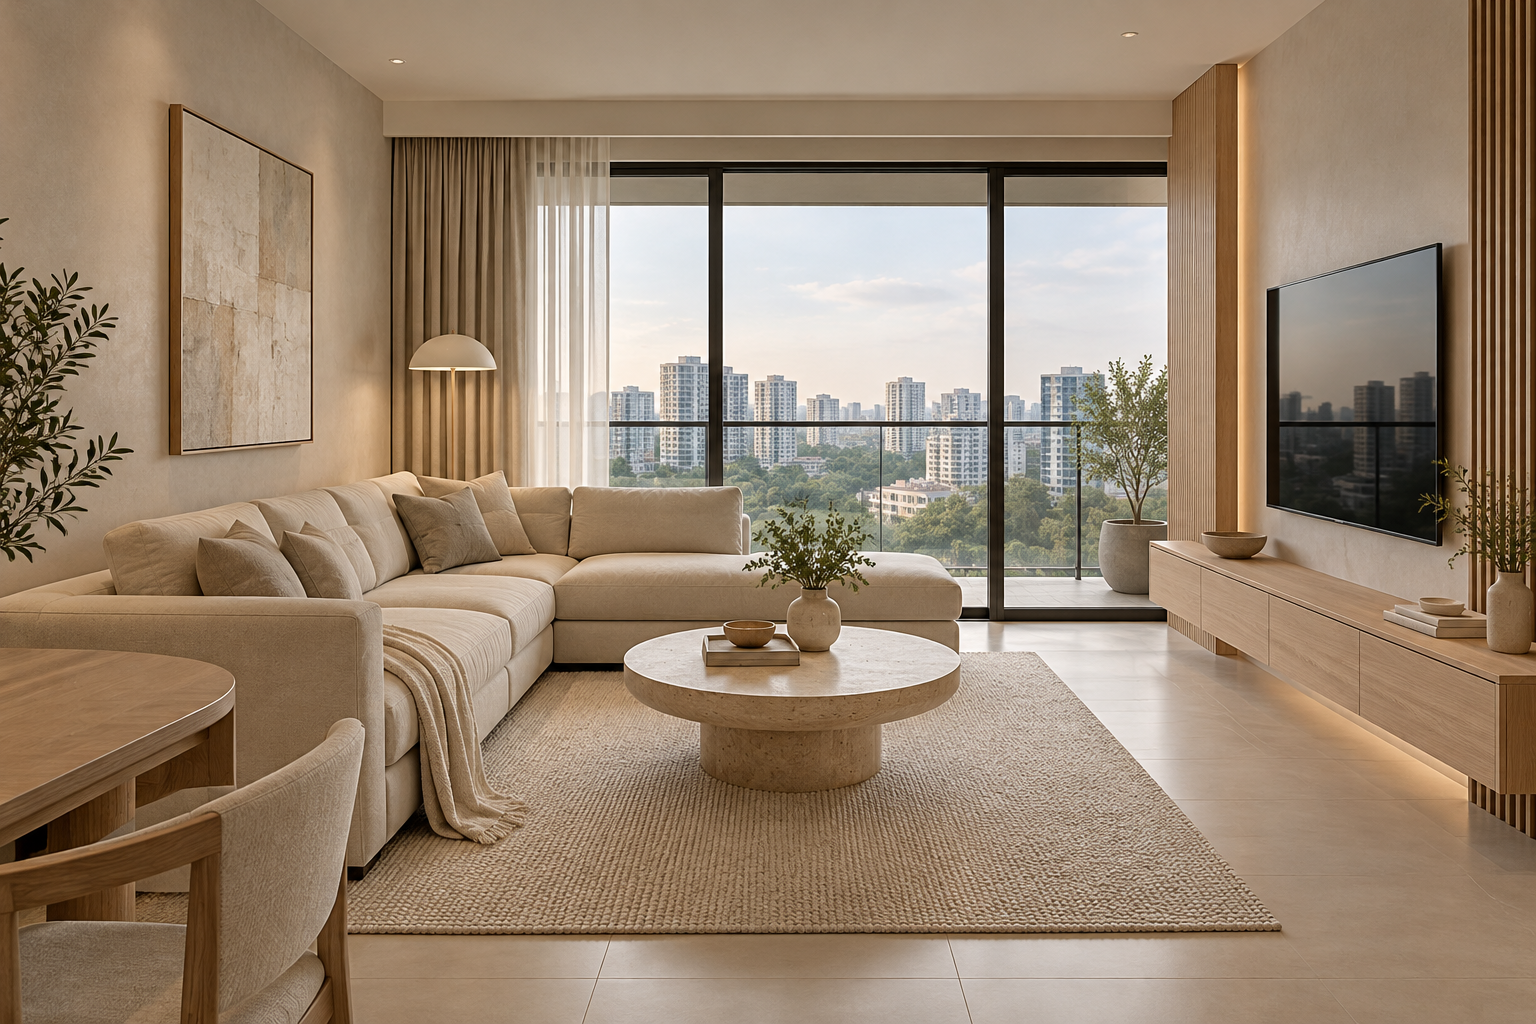
Microcement can create a continuous-looking decorative finish, but a smooth photograph does not reveal the complete system or the condition beneath it. For a Singapore renovation, the useful questions concern the actual product, substrate, preparation, application and protective finish. Treat those as one coordinated specification.
This guide helps homeowners compare a microcement proposal with other finishes. It does not provide application instructions or assume that every microcement is waterproof, crack-proof or suitable for every room. A named system and a site-specific assessment are essential before deciding where it belongs.
1. Identify the complete named system
Ask the supplier to specify the product and all required components for the intended application. Manufacturer Topciment, for example, describes multiple systems and notes that the substrate, selected coating and sealer affect performance. That does not establish the properties of every product marketed as microcement. Request the technical and care information for the actual proposal. A generic material name is not enough to compare two completed installations.
2. Assess what is underneath
Have the responsible specialist inspect the existing surface and identify what can and cannot be confirmed. Existing defects or movement should not be treated as cosmetic issues that a decorative layer will automatically solve. Ask how uncertain conditions are handled before work proceeds. A claim that a product can adhere to a material does not establish that every existing installation is a suitable substrate in its current condition.
3. Choose the application before the colour
A dry feature wall and a bathroom floor involve different demands. The specialist should confirm whether the actual system is appropriate and what associated work is required. Do not assume a decorative coating replaces a required waterproofing system or resolves an existing leak. Compare the finish as part of the whole assembly. Keep any applicable property requirements and professional assessments separate from the decision that the texture looks attractive.
4. Review a meaningful sample
Ask for a representative sample or mock-up showing the proposed texture, colour variation and protective finish. View it under the intended light and beside adjacent materials. A handcrafted-looking effect may have variation that a small digital swatch cannot communicate. Agree reasonable appearance expectations before application. If you prefer a very uniform surface, compare alternatives rather than expecting a textured decorative system to behave like every other product.
5. Resolve corners, joints and adjoining finishes
Show the interfaces at doors, skirtings, countertops and service penetrations. Ask how the system deals with the actual construction and necessary joints. Continuous-looking does not mean every building joint can be ignored. Identify who coordinates the substrate, finish and neighbouring trades. A carefully finished central area can still be disappointing if the transition to a retained floor or cabinet is left undefined until installation.
6. Understand protection and ongoing care
Obtain the exact system’s curing, use and cleaning guidance from the supplier or applicator. Clarify how the programme protects newly finished work from other trades. Ask what maintenance or recoating may be needed and how damage can be repaired. Do not accept a maintenance-free promise in place of written instructions. The household should understand the ordinary care and limitations before choosing a large area of the finish.
7. Compare alternatives on the same basis
Request the area, preparation, complete system, application, protection and making-good scope. Identify warranties and responsibility for substrate issues versus finish issues. Compare that with a suitable tile or painted alternative for the same location. Crown Interior Design can discuss the visual and renovation interfaces, with the specialist system and service coverage confirmed for the actual project. The decision should balance appearance, maintenance and a credible installation scope.
Compare the options before committing
| Option or decision | Useful when | Check before approval |
|---|---|---|
| Dry feature wall | A soft continuous-looking texture is desired | Substrate, sample and actual system |
| Floor application | The named system suits the proposed use | Preparation, protection and maintenance |
| Alternative finish | Uniformity or simpler upkeep is preferred | Like-for-like area and completed scope |
A worked planning example
An illustrative homeowner wants microcement on a kitchen-adjacent wall and in a bathroom. The team should assess those as separate applications rather than extending one generic finish description across both. Samples and technical recommendations may lead to different systems or a different finish in one area. This example does not approve waterproofing, prescribe application or promise that existing defects will be concealed permanently.
What to bring to the design discussion
- Named product system and technical information
- Current-condition photographs and specialist assessment
- Representative sample and junction drawings
- Protection, care, repair and warranty responsibilities
Frequently asked questions
Is microcement automatically waterproof?
Do not assume that from the name. Confirm the exact system, application and associated waterproofing requirements with the responsible specialist.
Can it cover any old tile?
The existing installation and proposed system need assessment. Adhesion claims do not establish every substrate’s suitability.
Will repairs be invisible?
Ask the actual applicator about repair expectations and possible appearance differences. Avoid a blanket promise.
Plan your project with Crown Interior Design
Send your floor plan, current photographs, intended use, timing and budget priorities. Explore Crown Interior Design’s design and renovation services and residential projects, then request a tailored quotation. The proposed scope and any specialist involvement should be confirmed for your actual premises.
Continue planning: Limewash Paint Singapore: 8 Choices Before Renovation · HDB Floor Tiles Singapore: 8 Renovation Decisions · Renovation Cost Singapore: A Scope-Based Budget Guide.
For a separate practical checklist, see RenoLinkUp’s interior design mock-up checklist.